WAFER SURFACE INSPECTION
for precise insight
WAVINESS
When etching the wafer, in particular, control of the waviness of the wafer surface is a production-relevant issue.
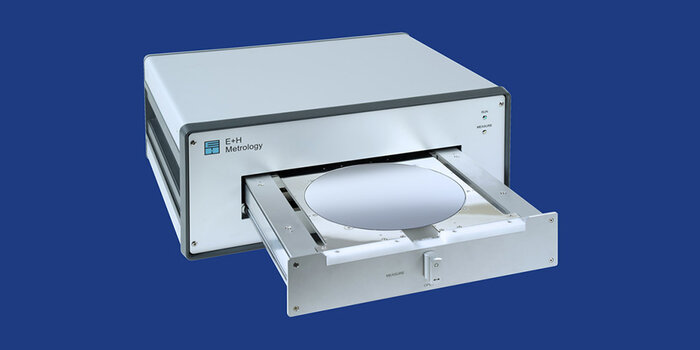
Our systems are specially made for this specific application: our MX 7012 gauge can be directly integrated into your etching system and loaded automatically. The system sensor pair also measures other relevant geometry parameters in one pass.
Homogeneous film removal is decisive for the entire production line during the etching process. Our MX-NT operating software rapidly calculates a profile specified according to your parameters from four different, independent waviness scans.
SAW MARKS
With wire sawing, there is a risk of gouging the surface of the wafer. With increasing depth, the substrate can thus break easily.
Our systems offer a wide range of modules and individually designed components to develop the right solution for your specific metrology task, from geometry measurement in general to saw mark detection. Our systems MX 7012 or MX 7018 allow here a quick and easy readout of the saw marks results in one pass with the wafer geometry.
Early detection of saw tooth defects/saw marks when cutting wafers can reduce material waste and improve production yield. The surface of a wafer has a wide range of random structures, making automatic detection of saw marks extremely difficult.
ROUGHNESS
In wafer production, the flatness of the material determines the success or failure of a production run.
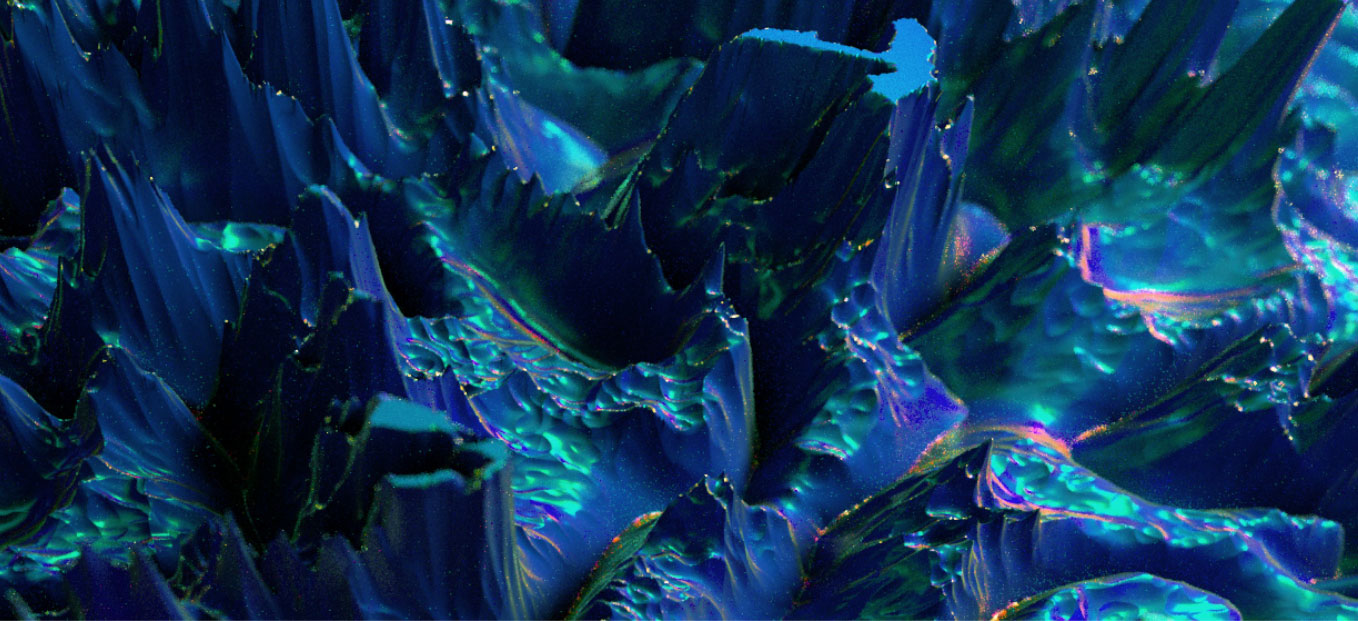
To determine the individual roughness in the measuring process, we add an optical scan module to our MX 7012 or the MX 7018 system. Multiple specifications (thickness, TTV, warp, waviness) can be scanned in one process. In that way, both systems deliver a specific surface profile across all conceivable parameters.
RECOMMENDED PRODUCTS
WHICH CHARACTERISTICS
do you need to measure?
You have questions, wishes or an order?
We will be happy to consult you personally.
